Shark 50 Manuel d'utilisateur
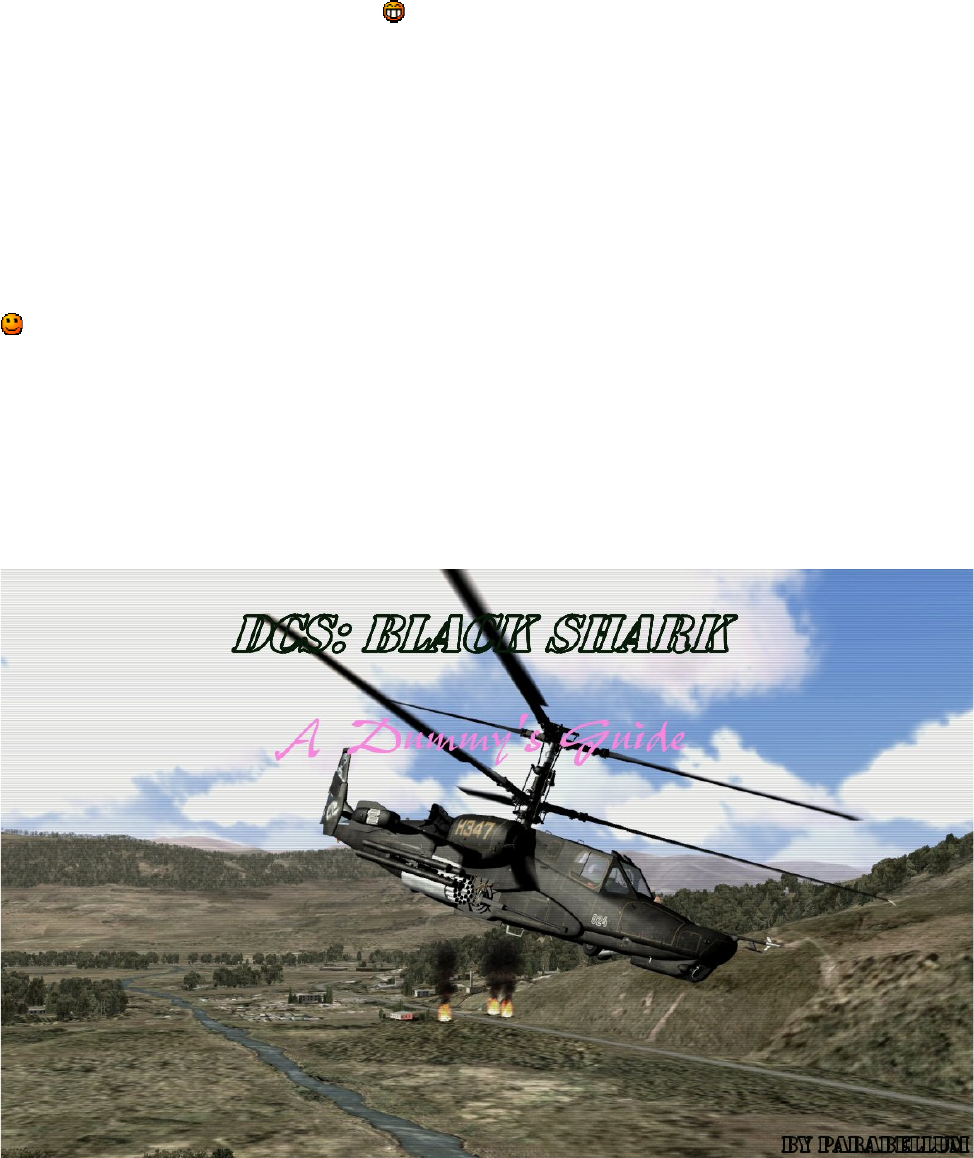
Naviguer en ligne ou télécharger Manuel d'utilisateur pour Multimètres Shark 50. Or: A Dummy`s Guide to DCS: Black Shark. Since quite a few people Manuel d'utilisatio
- Page / 23
- Table des matières
- MARQUE LIVRES


Résumé du contenu
Or: A Dummy's Guide to DCS: Black Shark. Since quite a few people have mentioned a demand for a basic tutorial that covers the very 1st steps
Take a look at the PUI-800 Weapon Status and Control Panel and the Targeting Mode Control Panel: Let's start with the Weapon Status and Contr
Now you're ready to fire. Disengage auto hover and carefully move up the ridge. While still in cover slow down again and initiate auto hover aga
You can now zoom in/out ("=" and "-") and adjust the TV target frame ("[" and "]"). Move the target frame ont
Now press the lock target key ("ENTER"). The "TT" symbol in the Shkval display should now change to "TA", "auto tr
If you've done everything correct, you should see this: Well done, now destroy the two remaining tanks, then it's time for rockets and t
Here's the second part of the mission: With the tanks at waypoint 2 destroyed we deactivate auto hover and press "BACKSPACE" to set t
Since the targets at steerpoint 3 consist of infantry and some tents we will use unguided rockets and cannon fire to destroy them. You should now be
Select the rockets by selecting the correct weapons stations ("u") and set the burst length to medium/CP. This will ensure that we fire a w
With weapons set now uncage the Shkval again ("o"), leave hover position (remember to switch off auto hover), and slowly move forward aroun
If you have aimed well, which actually isn't that easy with those unguided rockets, especially if you haven't yet managed to steadily cont
So now you're sitting in your brand-new Ka-50, it's a beautiful morning, and you're staring at a gazillion instruments labelled in a st
But fear not, because now we get to play around with the cannon! Yay! Check the targeting mode control panel again and set the switch to moving canno
Now clear the target area of all remaining targets. Once you have eliminated all targets you should get a message telling you to head back to the
Once you approach the last waypoint you can again switch on the anti-collision and navigation lights for extra atmosphere and karma points. Choose y
I hope you did learn a thing or two and enjoyed the reading. I apologize for any errors/mistakes/blurs, I'm still learning, too. I'll pu
We start with bringing up the map display on the ABRIS screen. The ABRIS is an incredible powerful system, but for now we'll simply use it to sho
Next we take a look at some of the basic instruments: One of the most important instruments is the VVI, the vertical velocity indicator. Always ha
The final step before taking off will be the setting of our countermeasures dispenser. It's fairly simple, actually. The digital readout has
start swinging back and forth all over the place things can get nasty quickly. To avoid this, use the autopilot settings and the auto-hover (left-ALT-
Ok, now we're stabilized, hovering at around 50m, all's fine. We can see the steerpoint carat on the HUD which will lead us towards waypoi
Now that you're clear of the airbase, switch off the anti-collision light and the navigation lights. The switch has four positions: 10%, 30%
As we approach waypoint 2 we should get a message telling us to prepare our weapons systems. The armoured targets are supposed to be on the other sid
Plus de documents pour Multimètres Shark 50


 (8 pages)


Commentaires sur ces manuels